

By Deer Creek Seed
Establishing an attractive food plot that enables wildlife to thrive is a rewarding way to extend your hunting enthusiasm beyond the seasonal harvest. Like any other project you take pride in, a successful food plot starts with careful planning and preparation.

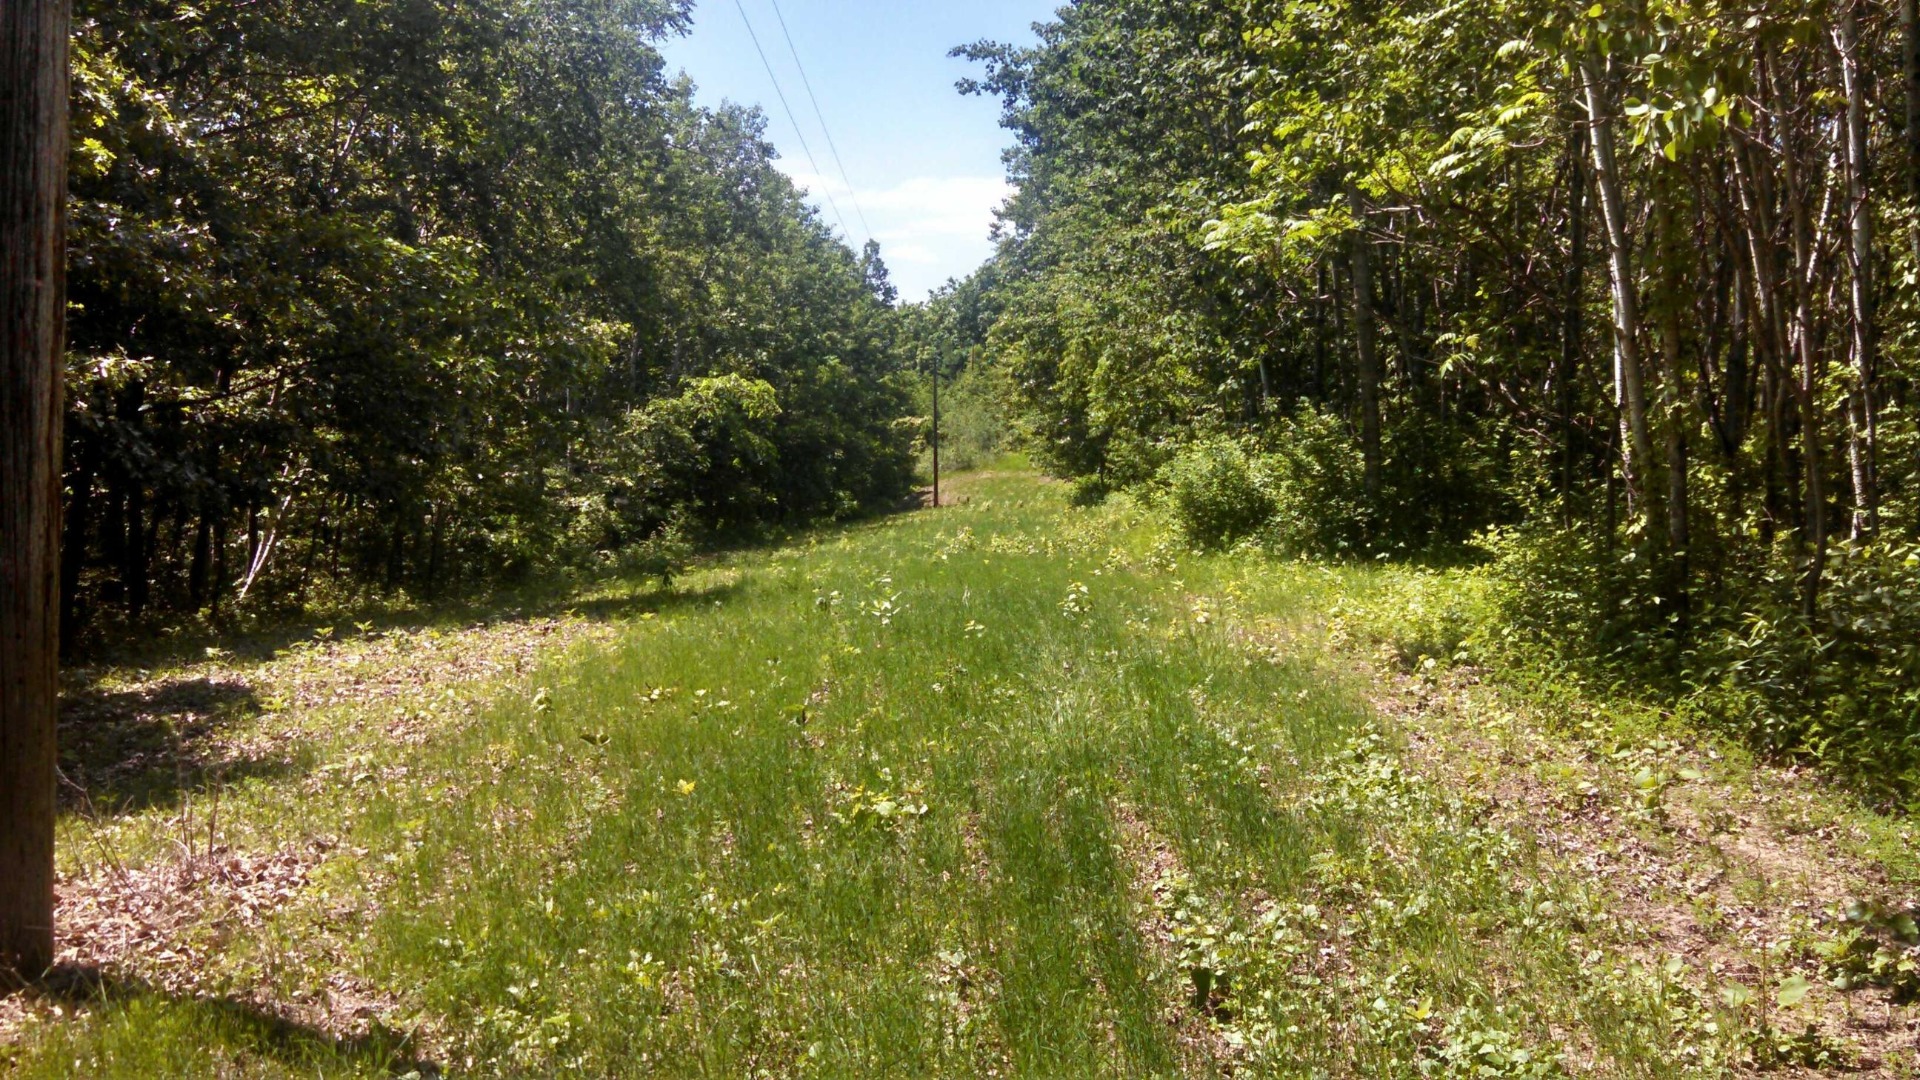
Site Selection
Start with a clear understanding of the basic needs of the wildlife you're going to attract. The essential needs include food, water, shelter, and a place to raise their young. Depending on the game species, these needs may differ slightly – deer may prefer tall, thick cover while smaller gamebirds may prefer shortgrass prairie. When selecting a site, try to make use of existing meadows, clearings, trails, firebreaks, and field corners. Keep in mind that any food plot will need at least a half-day of sunlight to thrive. Avoid planting food plots near roads or property lines.
Plan Accordingly
Although the game species population, natural forage available, and amount of crop or grazing land in the area all help determine its size, a food plot should measure about one acre for every 40 acres of habitat. Several smaller food plots attract wildlife better than one large plot. If you create a new opening, a long narrow strip with a bend or two will help wildlife feel more comfortable about using your food plot. Strengthen the attraction power of your plots by contrasting them against surrounding plant life. If there is an abundance of cropland in the area, plant mixes higher in annuals and attractant crops. In highly forested areas, plant more perennial legumes.
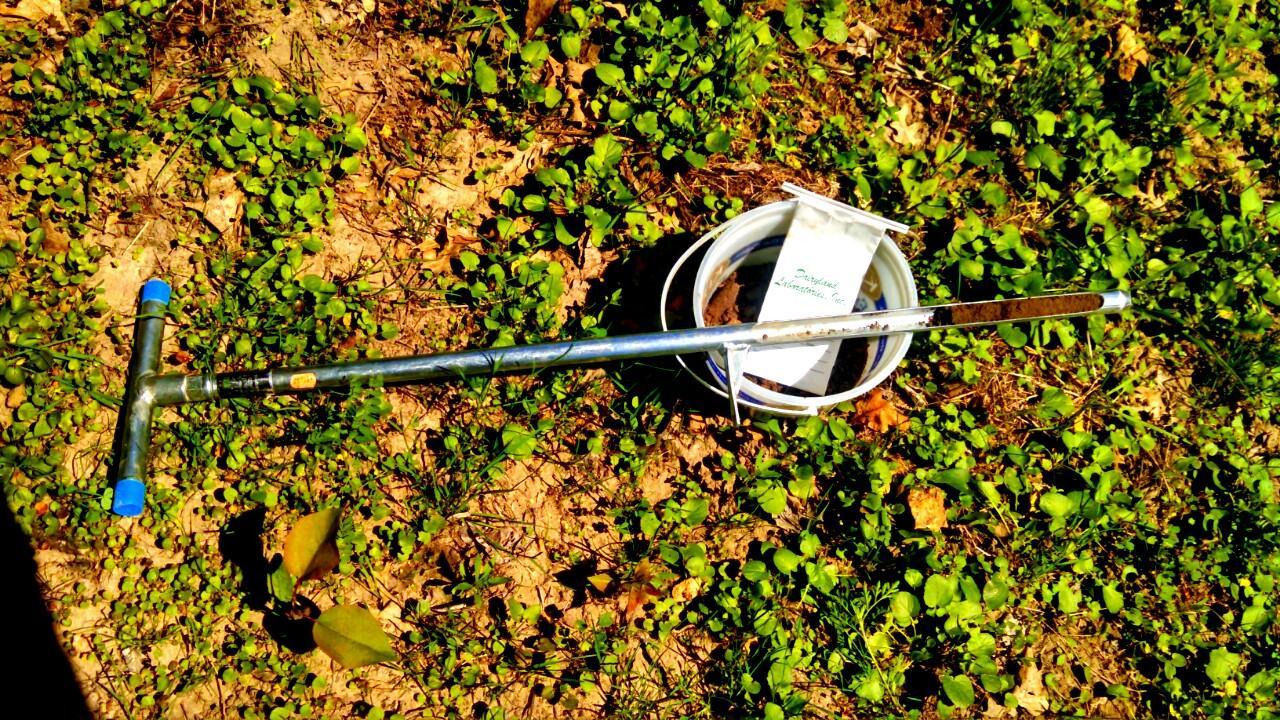
Soil Testing!
Probably the most critical and most often overlooked step in food plot establishment is soil testing. It is well worth the upfront effort to find out exactly what kinds of amendments are required to achieve optimum pH and fertility for the best results. Many wooded areas are very acidic with a low pH number and simply will not grow crops unless corrected with lime. Contact your local agricultural extension service to determine the best laboratories in your state to get your soil tested - or see our Soil Test Kit here. Soil testing is easier than it sounds; most laboratories will provide you with step-by-step guides for taking your own soil samples. After sampling, you simply send the soil to the laboratory and let them handle the rest.
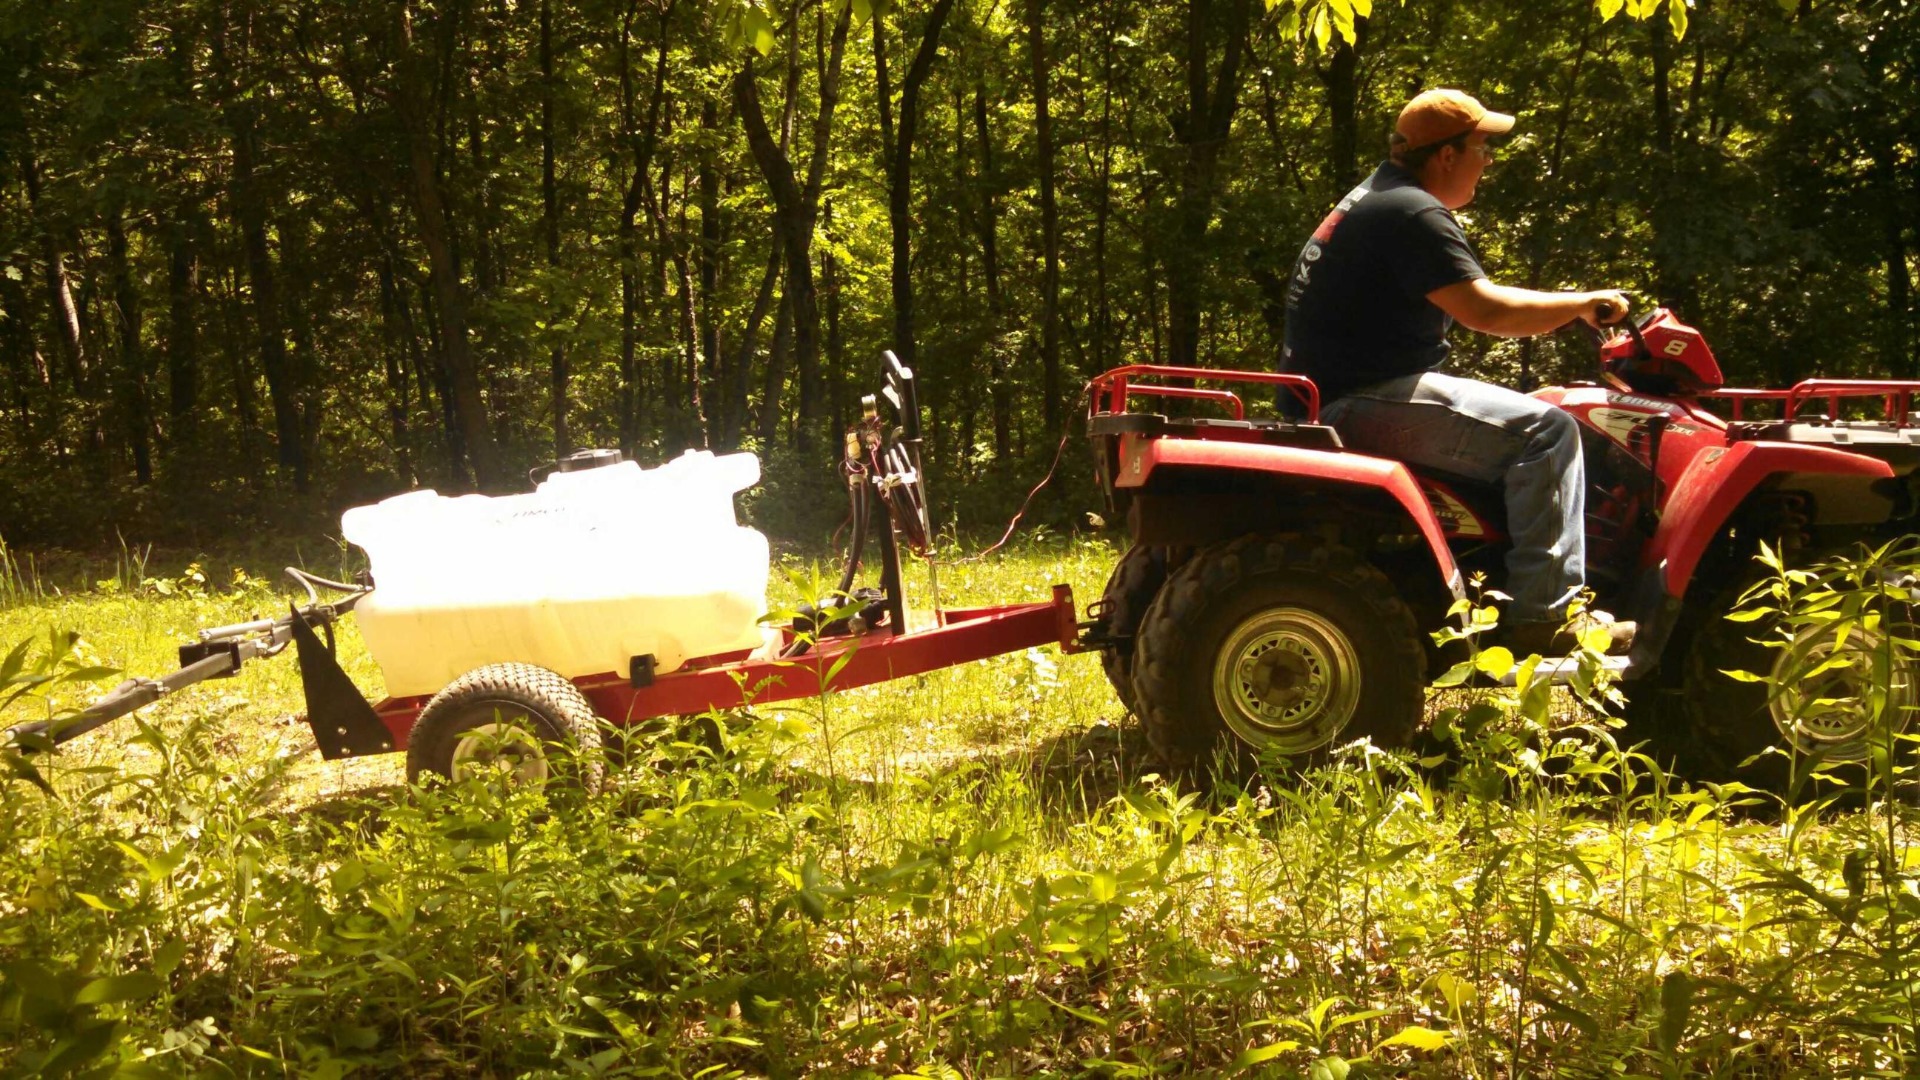
Manage Weeds
Most food plots are installed in old agricultural fields, new timber breakings, or simple grass patches found on hunting property. For most crops, competition from other plants must be controlled or reduced before any crop can truly thrive. Young seedlings can't compete with established weeds, so tillage, cover crop plantings, or an application of herbicide might be required to control established weeds.
If using chemical control, areas are typically sprayed with products like Round-Up about 10 days before planting. Spraying in advance allows sufficient time for the herbicide to be taken in by the existing plants (weeds), killing the roots and all. Tillage should occur 7 – 10 days after spraying.
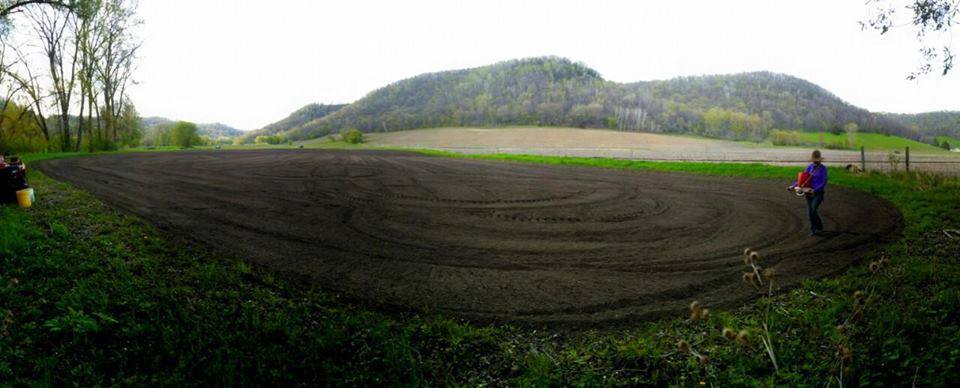
Tillage Technique
Seed for wildlife food plots is sometimes sold as "no till", "throw & grow", and other wishful descriptions. The fact of the matter is that there is no quick and easy seed magic. This isn't to say that you won't have germination when you simply toss the seed and walk away, but your success will be greatly limited! For the best results on most plots, obtain a small disc or digger that can be pulled behind a four-wheeler or small tractor. If your soil test recommends an application of lime or fertilizer, you can apply them to the soil before tilling. (Note: Lime breaks down very slowly and will require 6 to 12 months before a perennial crop is planted, so a small grain or annual crop is a good interim choice.)
Go over the area enough times to break up and mix the top 6 to 7 inches of soil thoroughly. Use implements that cut into the sod and mix top to bottom. Blend material and try to eliminate chunks or clods, but be mindful to retain as much moisture as possible. Too much tillage can dry out the soil and prevent even, timely germination of seed.
Next, drag the area with a spike-toothed harrow or similar device to remove any debris, level the seedbed and break up any clumps. If your feet sink into the soil by more than half an inch you'll need to cultipack or roll the soil to firm it before seeding. Skipping this step will result in seed placement deeper than a quarter inch and poor germination.
Seeding Tips
Once soil is tilled, we recommend rolling or pressing of the soil to get a firm seed bed. This uniformity allows for even seed depth. Whether you use a mechanical planter, broadcast spreader or throwing out by hand, a consistent seed placement depth delivers best results.
Plant the desired seed mix at the recommended rate using a hand seeder, a broadcast seeder mounted on a four-wheeler, a pull-behind seeder or, for larger areas, an agricultural seeder or grain drill. To avoid the expense of over-application, you can seed smaller amounts per acre by mixing the seed with a filler such as cat litter, clean sand, or appropriate granular fertilizer. Avoid separation of the seed and fertilizer by using a filler that's about the same size and density as the seed.
Once seeds are sown, make sure seeds are covered with dirt at the recommended depth. Roll or cultipack the area to cover the seed with soil and to firm the seedbed for good seed-to-soil contact necessary for germination. Remember, all seeds have a different optimum planting depth range. The general rule is: the smaller the seed, the less the planting depth. Small seed such as turnips should go in about 1/8 – 1/4 inch deep whereas larger seeds such as soybean should go in 3/4 – 1 inch deep.
Clipping Perennial Plots
Monitor your plot throughout the growing season. If growth on your perennial legume crop (clovers, alfalfa, trefoil) reaches 14 to 16 inches, clip it back to 4 to 6 inches to stimulate new growth. Mowing perennial plots in mid- to late- August will also encourage new growth that will be at its prime for the fall hunting season.

Evaluate and Adjust
Use wire baskets placed around your food plot to compare plant growth with how much is actually being eaten. If the wildlife population is eating the crop as fast as it grows, the area may require the support of additional food plots. If plants are lanky and pale, you may need to evaluate your soil fertility or shadiness of the food plot. You'll learn something new every season. Research online, contact your local agricultural extension office, and speak to one of our seed consultants for recommendations on food plot crops that will perform well in your soils and growing conditions. Then adjust from what you see happening and how the wildlife responds. Perfecting the art of growing food plots takes time, so make sure you have fun with it and always remain open to changes! You can control what happens on your land to provide the best food plot possible to grow bigger, healthier wildlife, and hold them on your land for your enjoyment!