Author: Jess Wagner
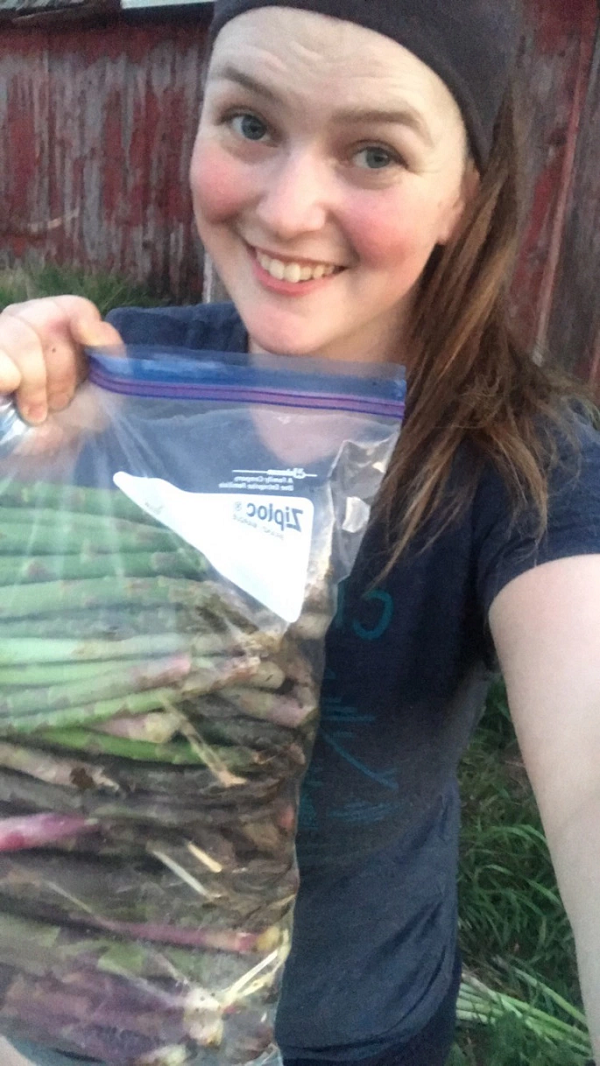
Asparagus is great whether it’s from the ditch, woods, or your home garden. In my house, it’s even become a kitchen staple!
My family bought our little 65-acre hobby farm in November of 2004 and started our asparagus patch the following summer. The bed didn’t produce the five-pound cuttings back then like it does today. In that time, we’ve learned a lot about how to grow asparagus the right way. Keep reading to discover our secrets to growing asparagus (successfully) on your homestead!
Starter Root Ball and Companion Plants
The first tip to growing your own asparagus is acquiring a healthy starter root ball – more appropriately known as a “crown”. These are available at most garden stores.
To find a healthy crown, look for a root ball that has firm roots and a firm central “ball.” Discard any root balls that are mushy or have slimy areas. A key thing to remember when picking out a root ball is the bigger the ball, the bigger and more fruitful the bed will be. And don’t wait to plant the ball when you get home either – you’ll want to be sure you put it in the ground soon after you purchase it.
Planting the ball is similar to planting a tree – dig a hole deep enough to cover the roots with a little space on top to add soil/compost over the coming weeks. Once the hole is dug and the ball is about to be placed in its respective spot, the hole needs to be partially filled with organic matter and soil. The organic matter can come from a few different sources ranging from old manure to kitchen compost.
Add water to the organic matter to create a soupy substance with the soil and fill it in just until the ball is covered. Once the ball is covered, water it thoroughly. Now you should still have a little “space” on top of the root ball. And as the asparagus starts to grow over the coming weeks, you’ll want to fill that space in with additional compost/soil until the bed is completely filled in. Then make sure in the first season to keep the bed moist (but not saturated).
As a side note, asparagus does not like acidic soil. If you have soil with a lower pH, you will want to amend it with lime prior to planting. We recommend a garden soil test to determine whether you need to add lime.
Another interesting facet with asparagus is companion planting. Some plants have a way of complementing others when inter-planted. A few that like to be planted next to asparagus are tomatoes, basil, and parsley. The basil and parsley thrive off the nutrients produced by asparagus whereas the tomatoes help to repel bugs from the asparagus bed.
Seasonal Care
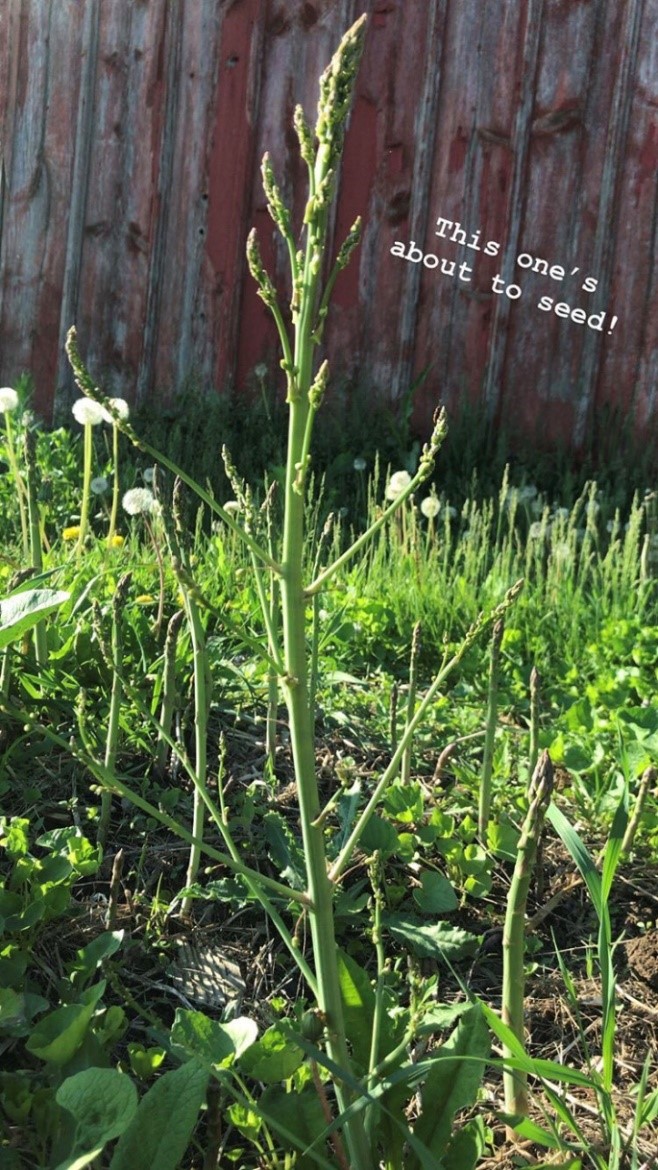
Different seasons mean different levels of care for the asparagus bed. In late fall, the “fronds” will need to be cut down. A frond is a seeded-out stalk that is brown and dry. Be sure the frond is brown and dry before removing to ensure regrowth the following season. The bed will also need to be covered with straw for protection from varying winter elements.
Spring and summer months bring about more responsibility. Once all straw is removed and the bed is cleaned, it is time to dig out a small trench around the asparagus plants to keep weeds from overtaking the bed. Just removing the top thin layer of soil and weed seedlings is fine. If desired, the trench may be filled with the winter straw for mulch, which will prevent weeds from growing and loss of moisture. Other organic matter previously listed will work as well. Sprinkle wood ash throughout the bed to prevent bugs as well as nourish the soil. Diatomaceous Earth is another bug repellent and insecticide that works very well without damaging the plants.
If all steps are followed correctly, not only will the spears start to rapidly grow – so will the weeds! Make sure to weed regularly and cautiously. Don’t be too aggressive when weeding as adolescent spears may be damaged. This goes for harvesting as well. Some spears grow very close together and might be cut by accident with the targeted spear.
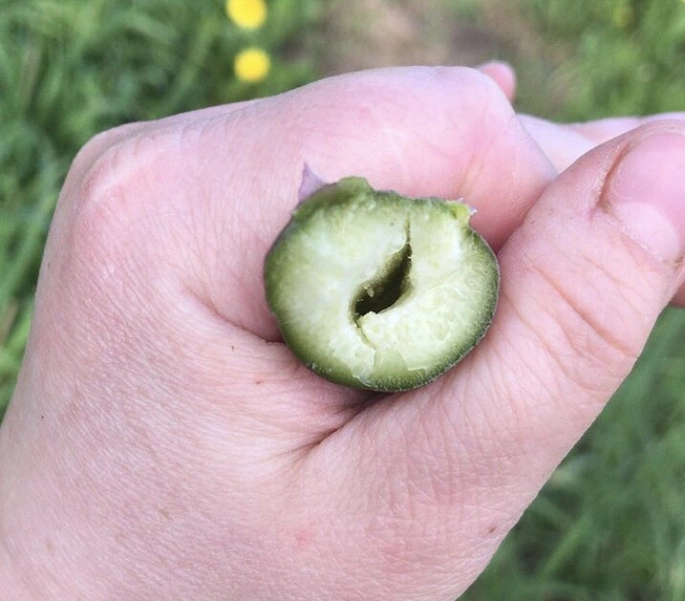
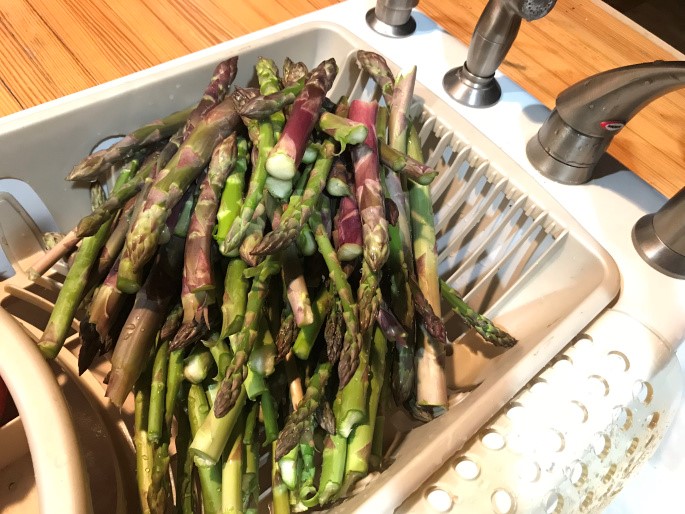
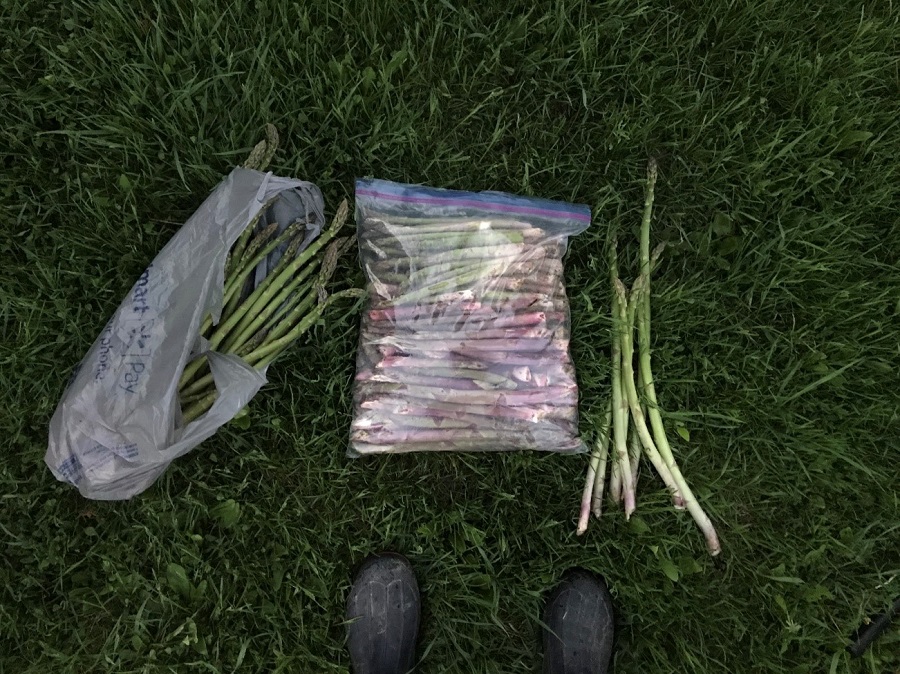
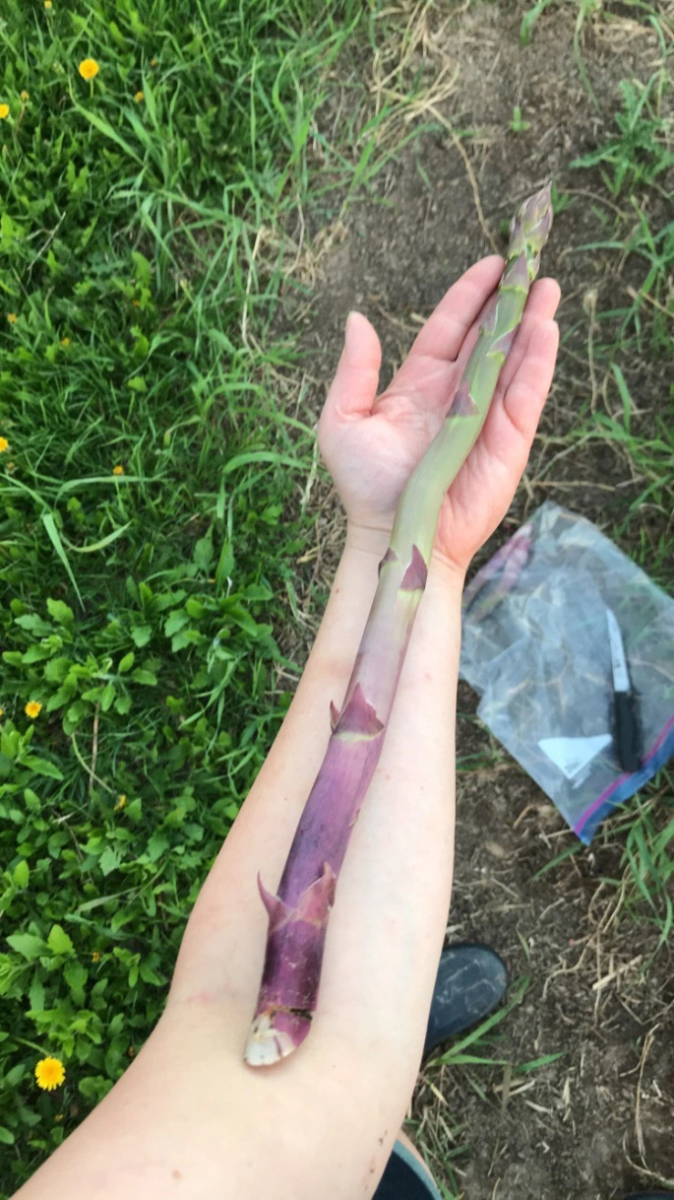
The proper technique for harvesting asparagus is going as deep as you can into the soil and cutting the spear diagonally. A spear that is 3 to 4″ tall or more is eligible for cutting. Keep in mind that the longer the spear, the woodier the harvest. The way to identify a woody spear is snapping the spear in half and discarding the bottom half. If the inside of the top half is hollow, the entire spear is woody (example is pictured above). Being woody isn’t a terrible thing but it will make the cooked asparagus a bit chewy.
Preparation and Enjoyment
Once the asparagus is harvested and gathered, bring it in the house to rinse and serve as desired. A personal favorite of mine is frying the spears in oil using a cast iron pan with garlic and beer seasoning from Cabela’s. Another option is to wrap asparagus with lemon wedges, garlic, and butter in aluminum and throw the packet on the barbeque.
There are endless ways to prepare asparagus – a Google search will yield a robust harvest (see what I did there?) of delicious recipes. Good luck with starting a bed and producing wonderful, nutritious asparagus for years to come!