

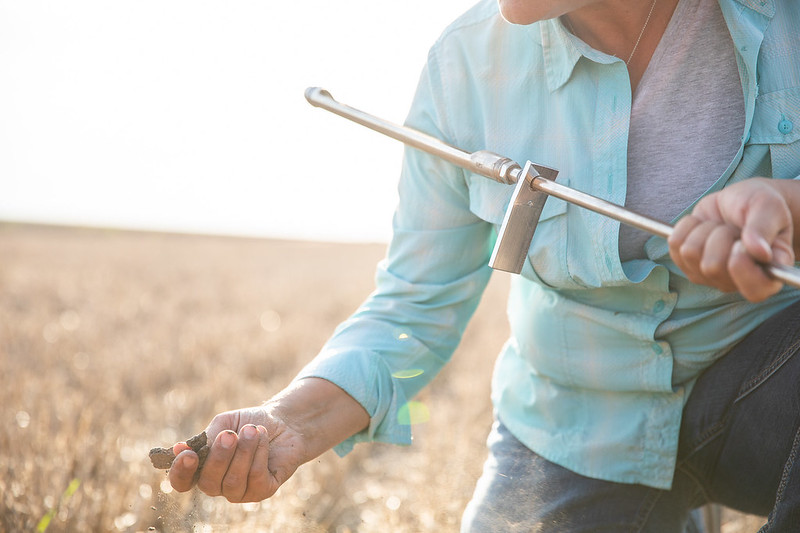
Photo Credit: United Soybean Board on Flickr
The Best Time To Test Your Soil
Chances are, you’re here because you’ve had someone tell you to test your soil or read it online. (Pretty sure we’ve mentioned it once or twice in other articles.) Don’t be quick to scoff at this advice!
Regardless if you’re a hobby gardener, dealing with lawn problems, or growing crops, soil testing isn’t just a waste of money—it’s a valuable tool to have in your toolbox.
So let’s talk about why soil testing is essential, when you should test your soil, and the most commonly ordered tests.
Why is Soil Testing Important?
Soil testing provides information you may not get other ways, making it a handy management tool. Knowing the makeup of your soil and its nutrient concentrations helps you make better financial and environmental decisions and leads to optimal plant growth.
Instead of applying fertilizers haphazardly, you learn exactly what your soil needs and how much to apply. You’ll get the most bang for your buck and (hopefully) have beautiful, tasty tomatoes (or whatever crop you’re growing) to show for it.
But there’s much more to soil testing beyond using it to grow a bountiful garden.
If you’re a rancher, you can check to see the nitrogen and phosphorus concentrations in your pastures to avoid over-application of manure to prevent groundwater contamination. As a homeowner, you can check the soil to ensure it doesn’t have heavy metal contamination.
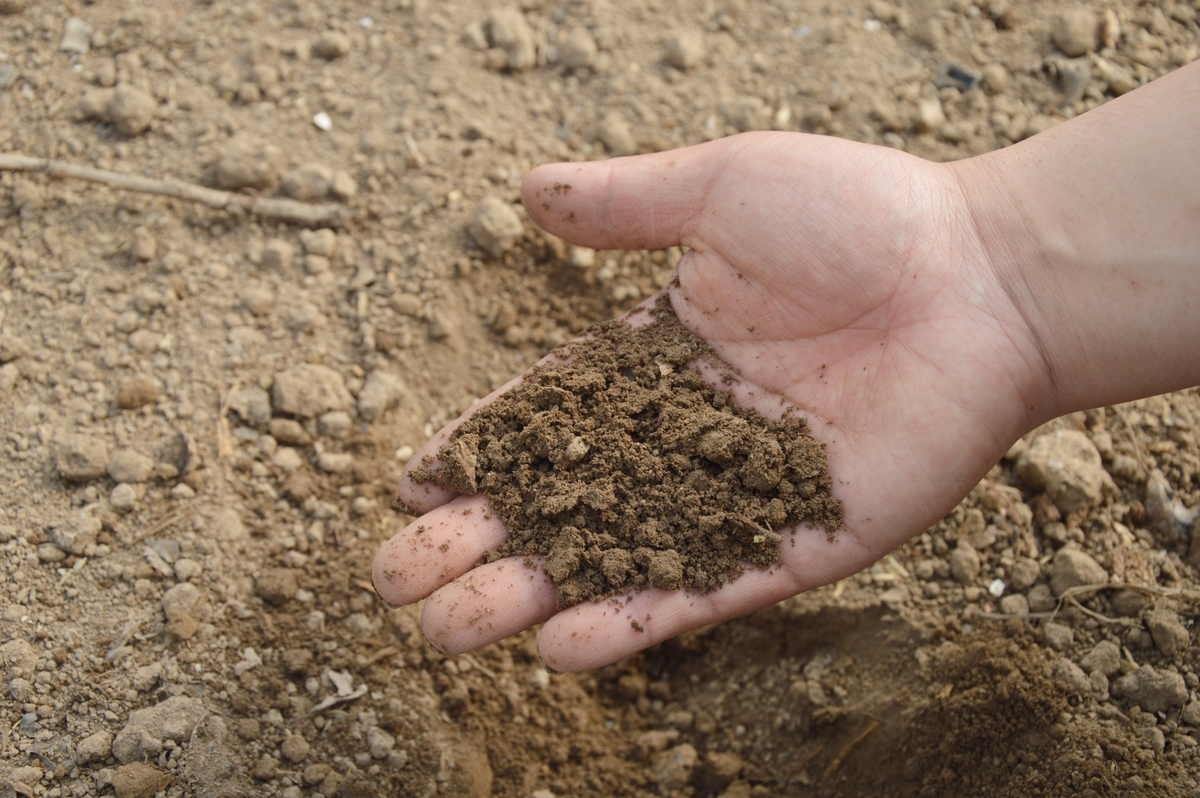 Photo Credit: Rawpixel
When Should Soil Be Tested?
Realistically, you can take soil samples any time of the year as long as the ground isn’t frozen solid.
However, the best time for sampling and analysis is in the fall after the growing season but before you start prepping for winter and next spring. This timing lets you use the results to plan your fall soil amendments and spring fertilizer program.
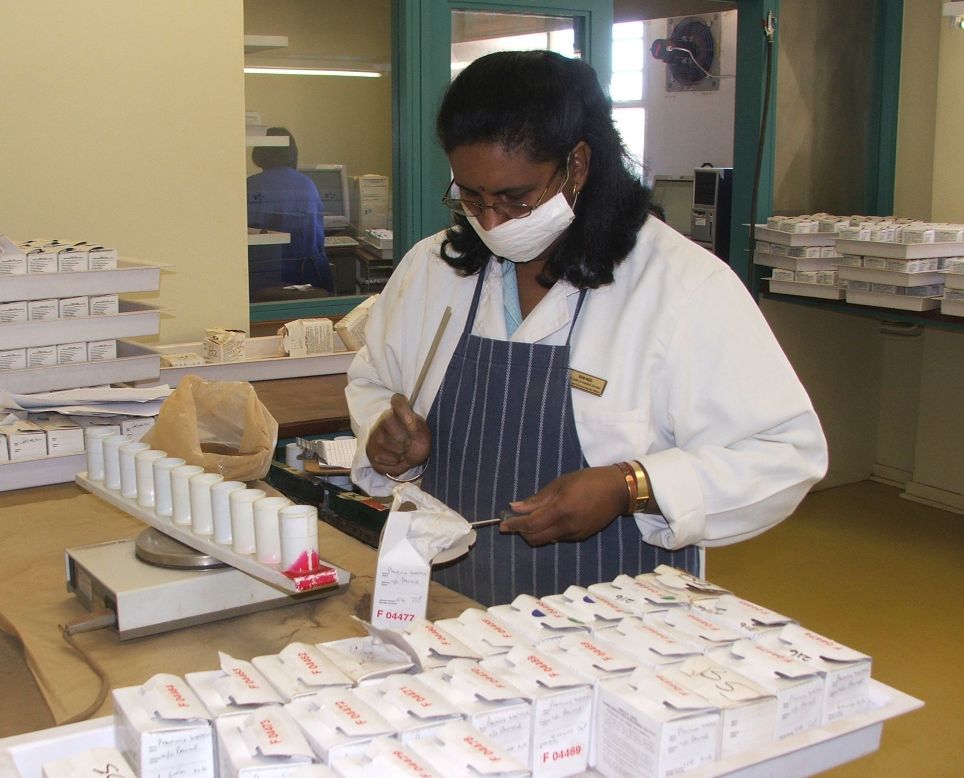 Photo Credit: Wikimedia Commons
Naturally, people ask, “why is fall the best time to do soil testing?” Simply put, it’s easiest to sample when crops aren’t actively growing—especially if your fields or garden has been harvested and has no plants—and the soil is drier.
When you have plants actively growing, they are constantly affecting soil pH and nutrient levels. They pull nutrients from the soil and release compounds out of their roots that change pH values. At the same time, organic matter is broken down to release nutrients and changes pH simultaneously.
Instead of accounting for this constant flux, you’ll get the most accurate results if you wait until fall when less is happening in the ground.
Note: Regardless of when you sample, continue to take future soil samples at the same time of year for accurate comparison of trends.
How Often Should You Test?
Once you start testing your soil, there’s a chance you’ll want to stay up-to-date on your soil’s chemistry. You can undoubtedly test every year if you wish. But in many cases, yearly sampling isn’t necessary.
If your test results indicate the pH and nutrient levels are in an optimal range, i.e., levels are adequate for good plant growth and don’t require amendments, you don’t need to sample every year. In that case, test sandy soils every two or three years and soils high in clay every three or four years.
If your results show out-of-range pH values, test your soil yearly to manage amendments carefully. Once the pH is suitable, you can sample less often.
For low-fertility soils, it may be helpful to test every year for the first few years. Once a good fertilizer program is dialed in, you can sample every couple of years as maintenance.
How To Properly Sample Your Soil
The key to soil sampling is to remember one crucial thing—the soil test results are only as accurate as the sample. When a half-pound sample represents thousands (or more) of pounds of soil in your garden or yard, you must take the sample carefully and adequately.
The following are general guidelines. Always check with your lab to see if they have specific sampling procedures.
- Collect a representative sample of the entire field, yard, or garden in a clean bucket.
Collect 10 to 20 random soil samples from the area you are testing using a trowel, spade, or soil probe. Sample 4” for lawns, 6” for gardens and flower beds, 8” for cultivated fields, and 4” for no-till fields and pastures.
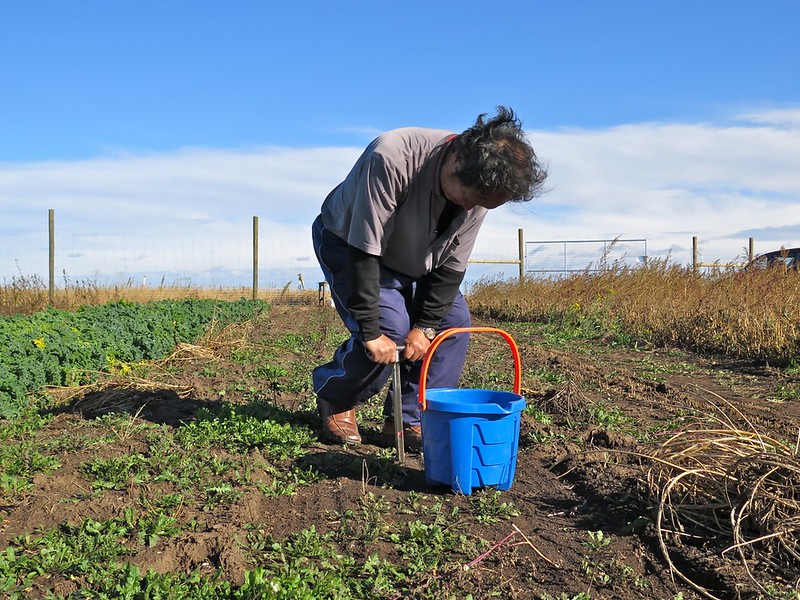 Photo Credit: Media Mike Hazard on Flickr
- Once the cores are collected, remove plant residue and mix them well.
- Spread soil on a piece of newspaper and allow to air dry at room temperature for 24-28 hours.
- Collect 1.5 to 2 cups of the airdried soil in a zip-top plastic bag.
- Label the bag with your name and sample area (backyard, garden, field number, etc.).
- Send your soil sample, sample submission sheet, and payment to your chosen lab.
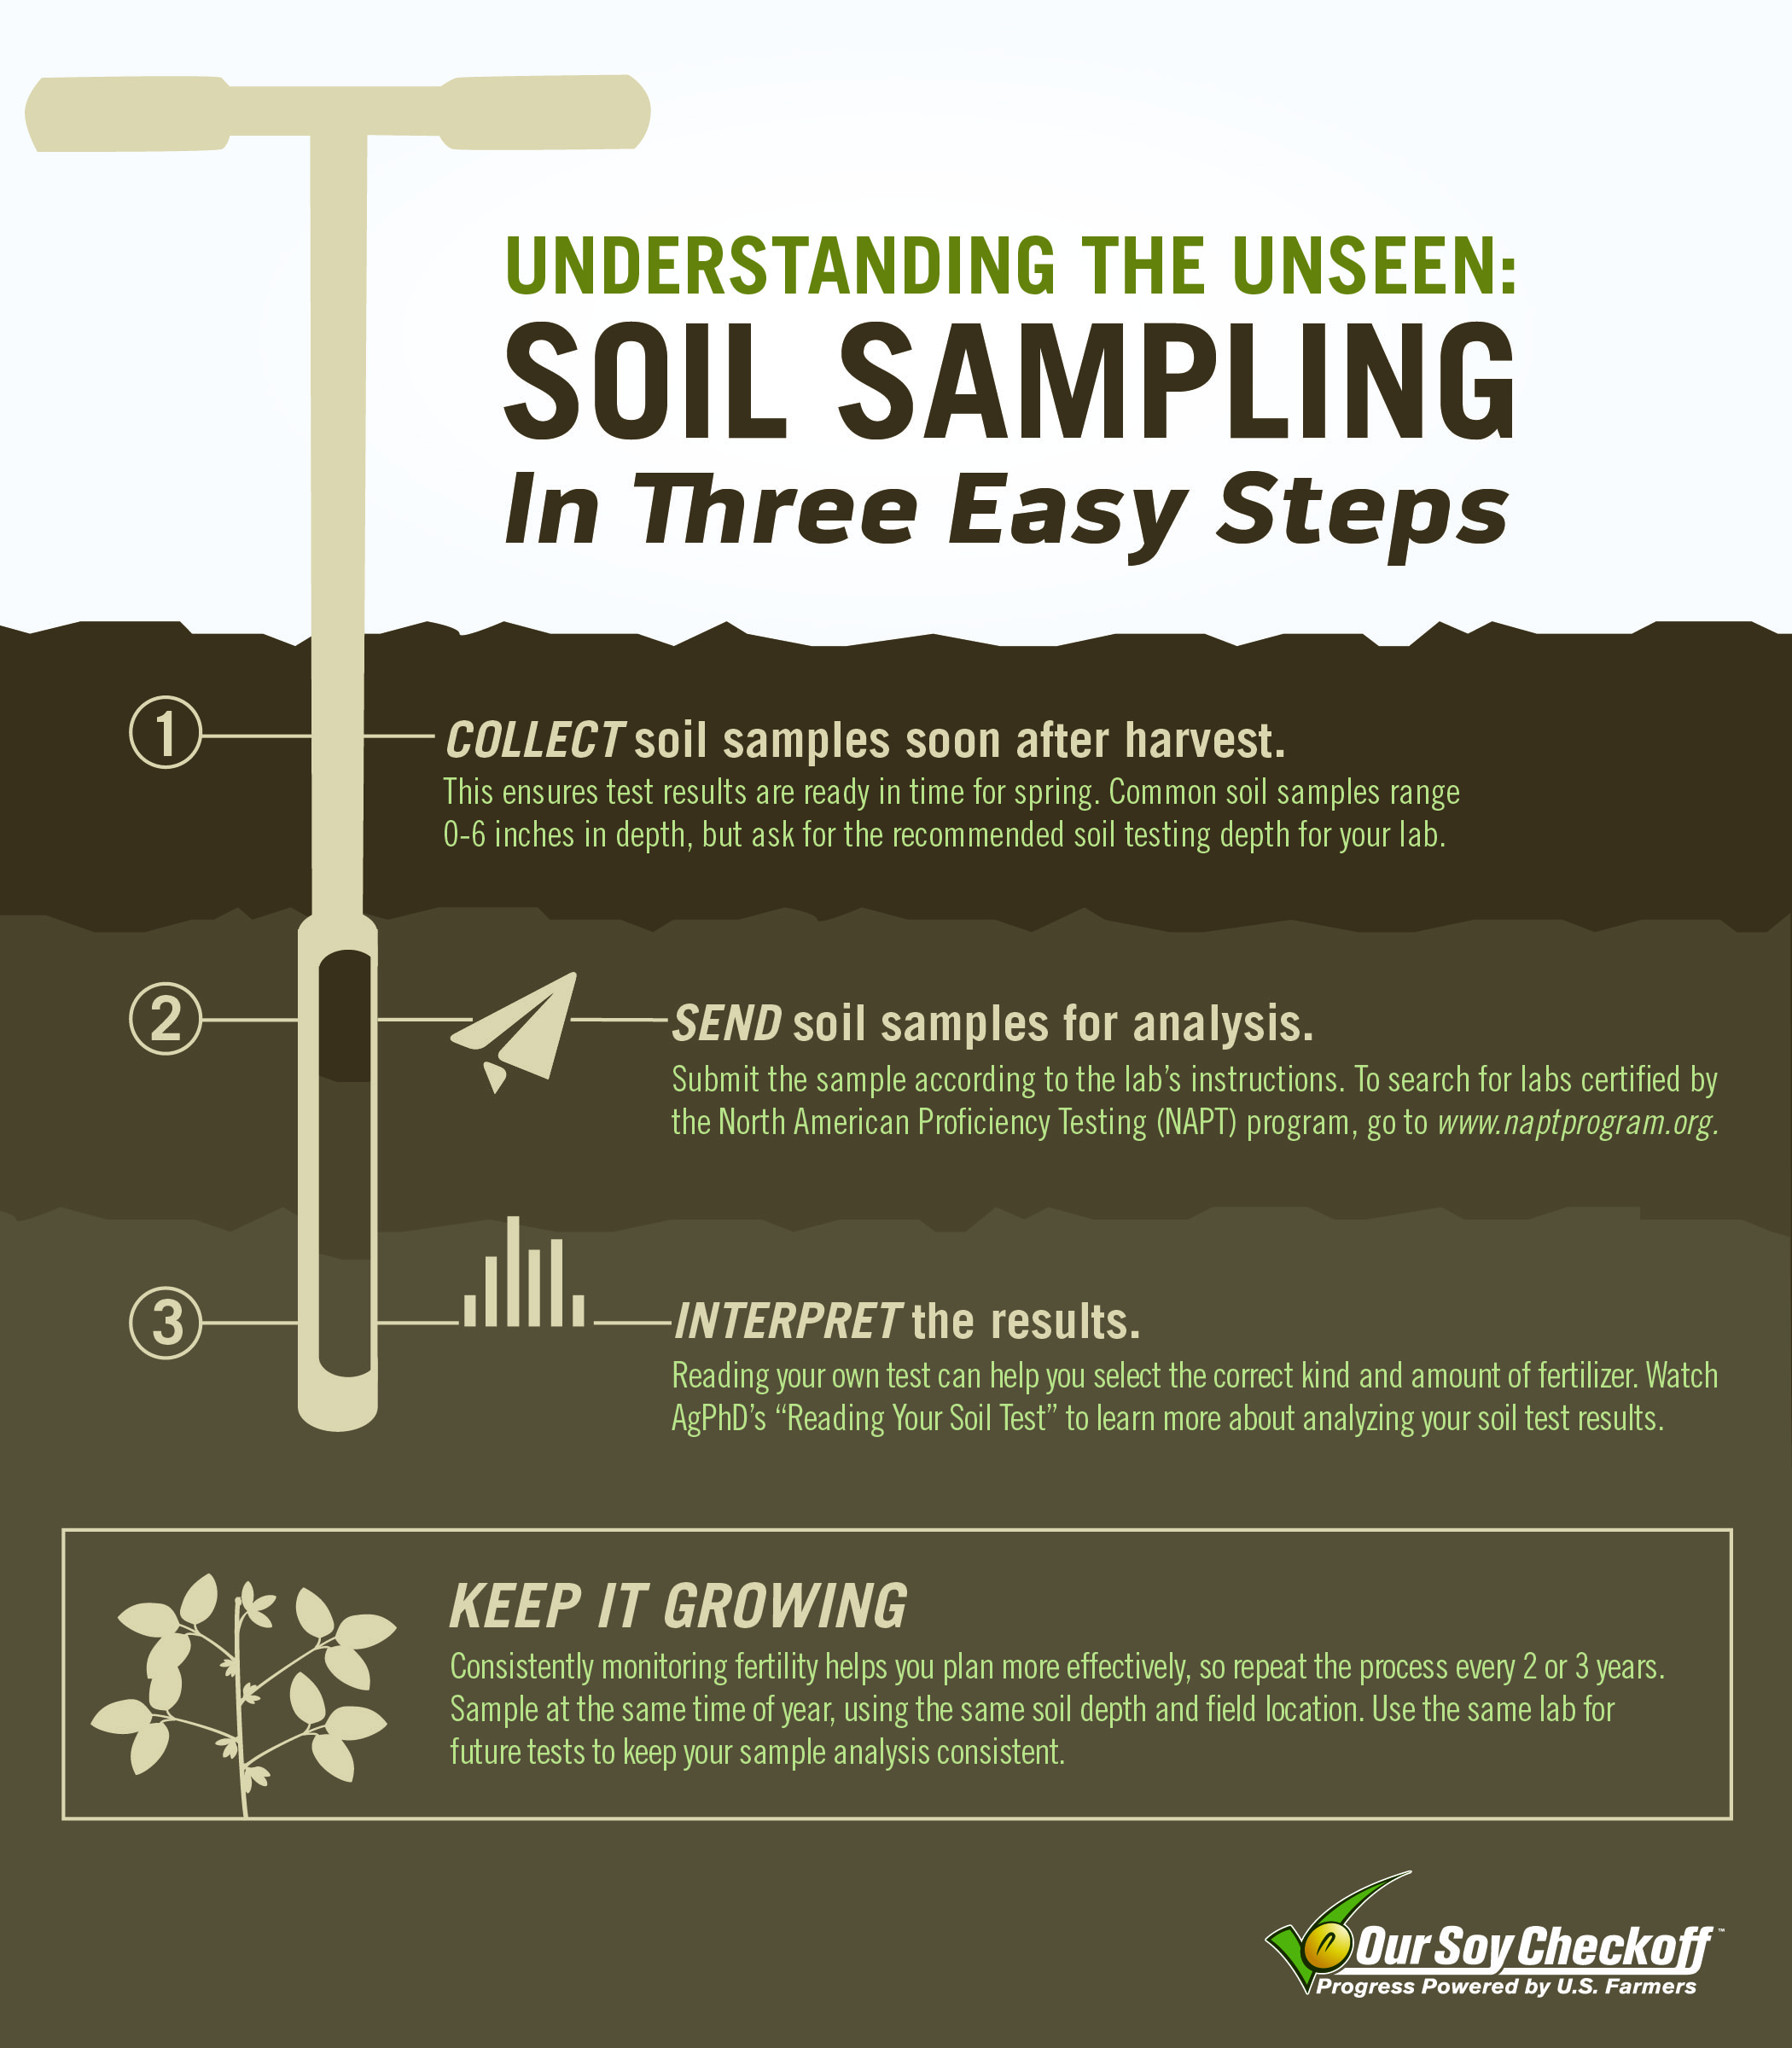 Photo Credit: Wikimedia Commons
.jpg)
Tips for Soil Sampling
- Thoroughly clean all of your tools before and after sampling.
- Take soil samples when the ground is wet but not saturated.
- Avoid sampling spots significantly different from the rest, such as low-lying areas.
- Walk through the area in a zig-zag pattern, randomly stopping to sample.
- County Extension Offices often have soil probes you can borrow for sampling.
Common Soil Tests & Why They’re Important
There are many tests you can run on your soil, but if you want to know the basics of your soil, it isn’t necessary to test for everything. Plus, limiting your choices keeps your cost lower.
To get an idea of your soil’s basic fertility, check the soil pH, organic matter (OM), nitrate-nitrogen (NO3-), phosphorus (P), and Potassium (K). These five tests will give you the bulk of the information you need.
Some other optional tests, which can be beneficial, include:
- Calcium (Ca)
- Magnesium (Mg)
- Micronutrients (Fe, Mn, Zn, Cu, B)
- Cation Exchange Capacity (CEC)
- Electrical Conductivity (EC)
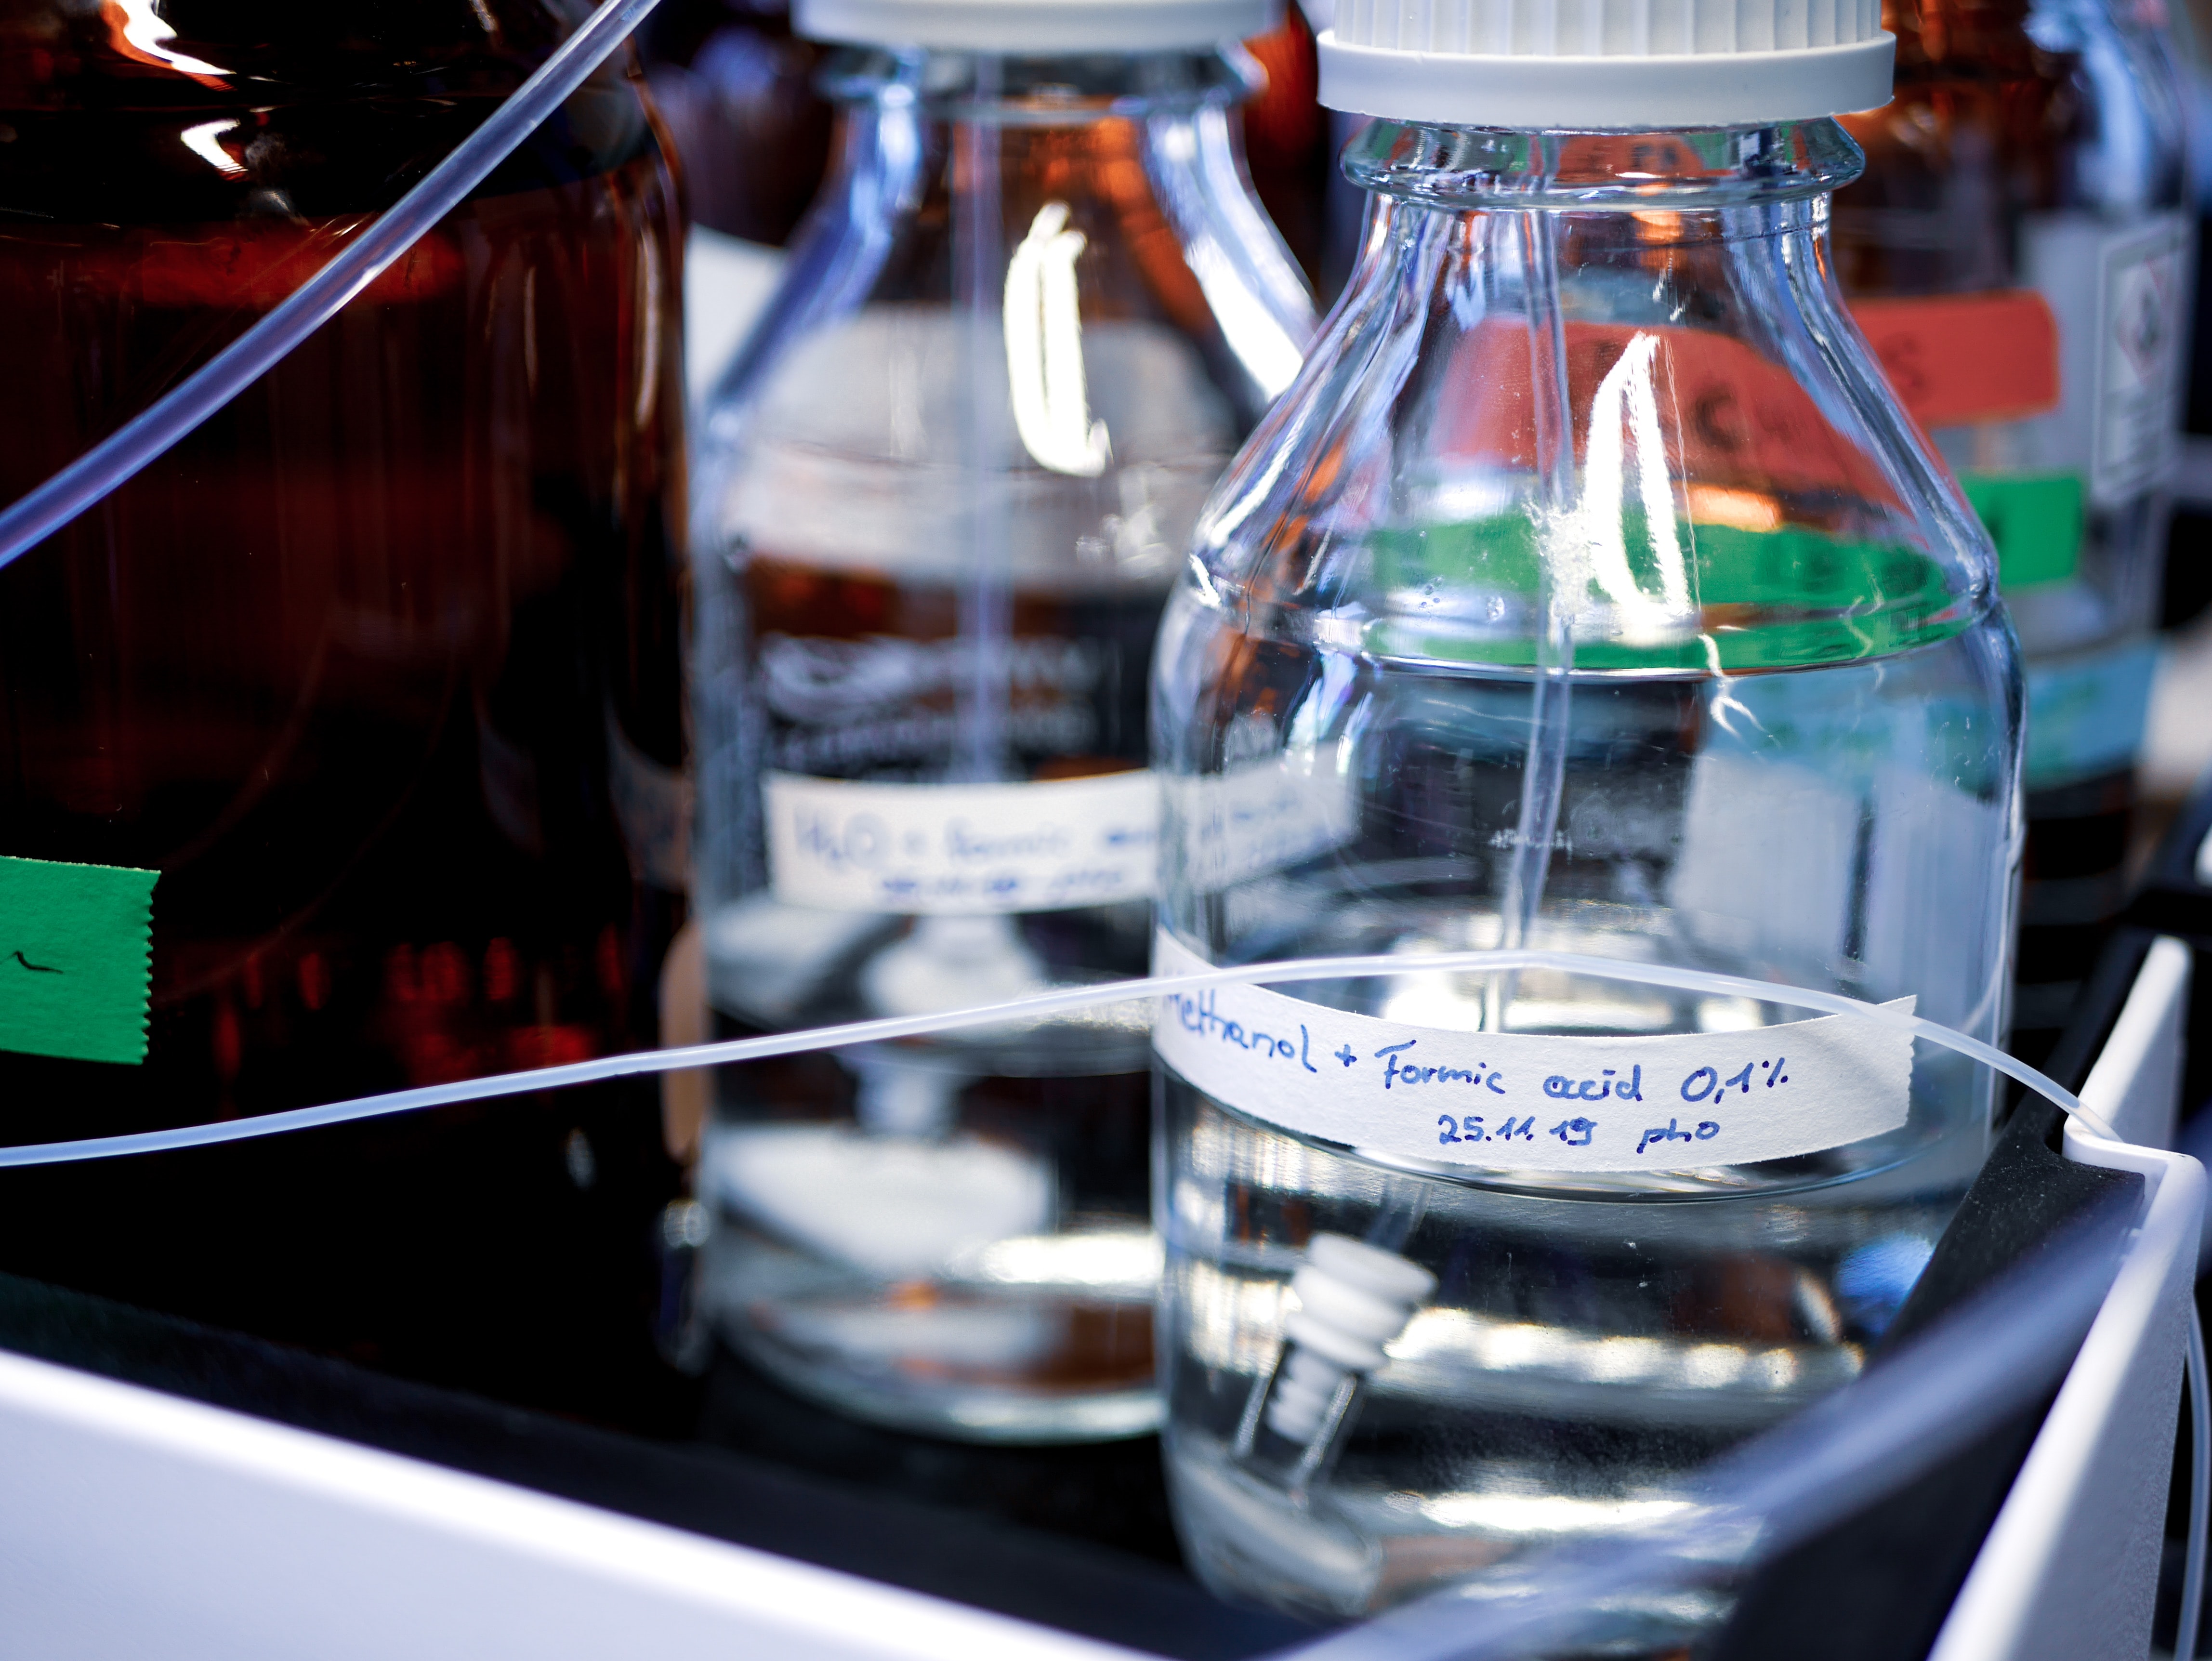 Photo Credit: Julia Koblitz on Unsplash
Soil pH
The pH value of soil measures the hydrogen ions present and tells you if the soil is acid or alkaline and to what extent. A value between 6.5 and 7.5 is considered neutral; below 6.5 is acidic, and values above 7.5 are alkaline.
Ideally, you want your soil pH between 6.0 and 7.0, but different plants have different soil pH requirements. Once the pH gets too far from neutral, it impacts nutrient availability, causing deficiencies or toxicities. When applying fertilizer, you want as much as possible to be utilized by the plants, yet you don’t want to over-fertilize.
- At both the low and high end of the pH scale, the essential macronutrients—nitrogen, phosphorus, potassium, calcium, magnesium, and sulfur—become tied up, making them difficult for the plant to absorb.
- The micronutrients—chlorine, iron, boron, manganese, zinc, copper, molybdenum, and nickel—become more available as the pH moves away from neutral, potentially becoming toxic because of their abundance.
- At or below 5.0 soil pH, aluminum changes to a very soluble form, causing aluminum toxicity in plants.
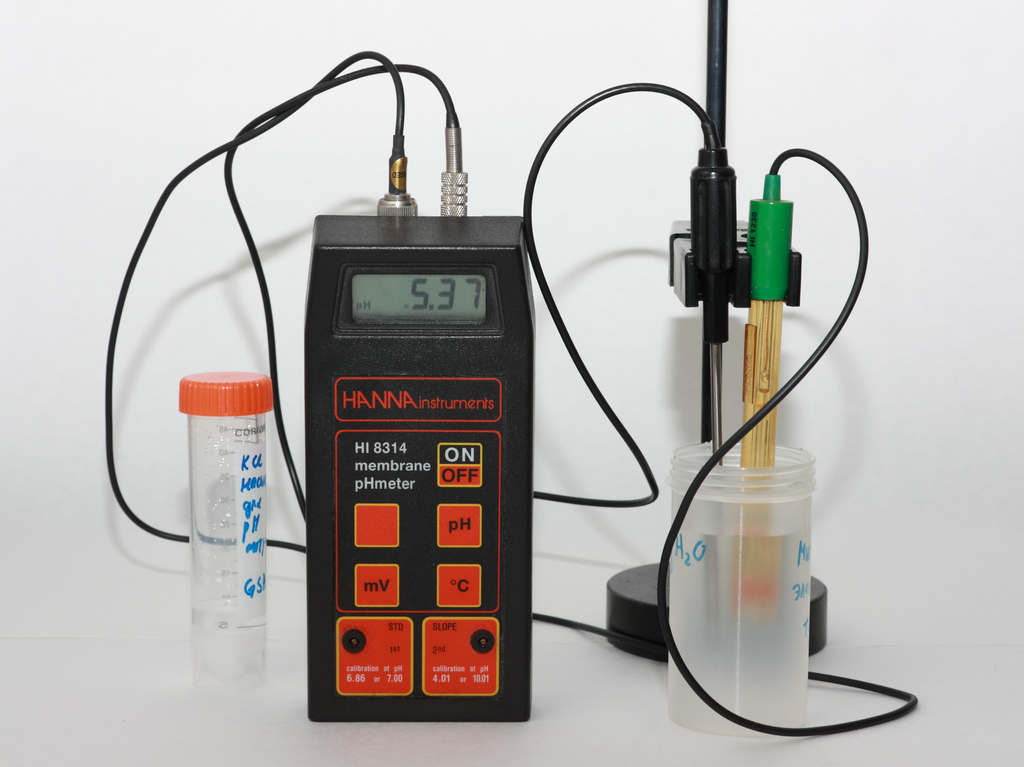 Photo Credit: Wikimedia Commons
Organic Matter
Soil organic matter (OM) is the part of the soil consisting of plant and animal matter in various stages of decomposition.
Organic matter is important because it releases nutrients into the ground, helps keep water in the soil, holds onto nutrients so they are accessible to plants, and helps buffer or resist soil pH changes.
All these roles are why adding organic matter to your soil is recommended when preparing for planting. A soil’s ideal OM level is between 5 and 8%. Once it falls below 2-3%, the ground may not adequately hold onto enough water and nutrients to support average plant growth.
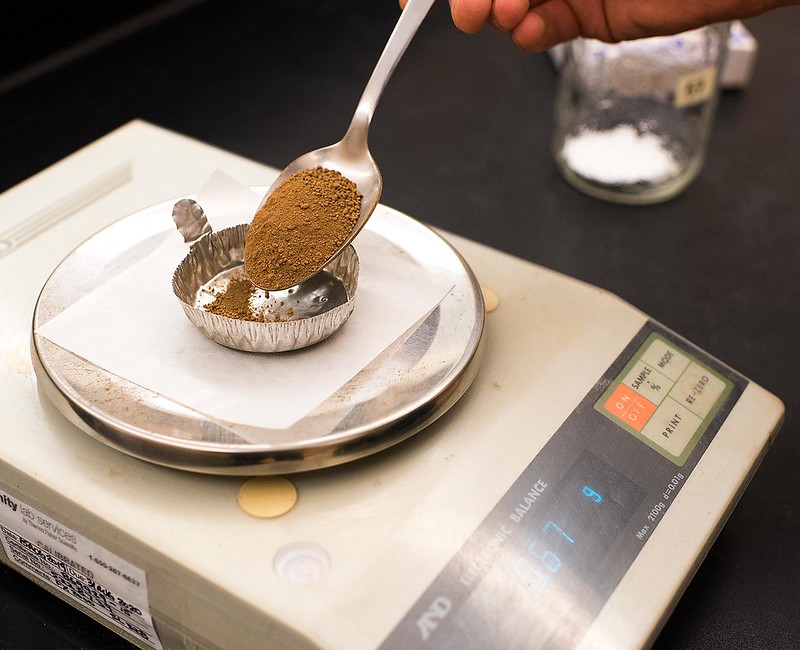 Photo Credit: Government of Prince Edward Island on Flickr
Nitrogen
Nitrogen (N) is probably the most well-known nutrient plants need, and rightfully so, since it is required in the highest quantity. We’re the most familiar with nitrogen because it’s the first nutrient listed on fertilizer labels. And most people understand it makes plants grow taller and produce more leaves. It’s also part of chlorophyll which keeps plants green.
To get technical, different forms of nitrogen are found in soils. Plants absorb nitrate-N or ammonium-N, which fluctuate wildly over a growing season because of plant and soil interactions. Labs typically measure one of these two forms, and the results are used to predict immediate fertilizer needs.
Phosphorus
In plants, phosphorus (P) plays an essential role in respiration and energy transport. So, P helps plants breathe and move energy internally, to wherever it is needed for growth or other processes. When phosphorus is low, plant growth is lessened, plants take longer to mature, and yield is reduced.
Phosphorus is found in the soil in two forms: inorganic and organic. Total soil phosphorus may be high, but less than 80% is available for plant uptake on average. Therefore, P soil testing determines plant-available phosphorus instead of the total amount.
Potassium
In plants, potassium (K) helps to move water, nutrients, and carbohydrates and affects protein and starch production. It also helps regulate photosynthesis rates. Deficient plants will wilt on hot days because they can’t close stomata or move water where needed and have smaller, stunted leaves.
There are three forms of soil potassium: potassium available to plants, unavailable K, and potassium tightly attached to other minerals and slowly released to become available. Unfortunately, most of the potassium in soils is unavailable.
Like phosphorus, soil tests measure plant-available potassium, not the total concentration.
Magnesium and Calcium
Magnesium’s primary role is to help plants photosynthesize because it is the primary structural molecule in chlorophyll. Calcium is part of pectin, which helps form and keep cell walls intact. Insufficient amounts of calcium result in irregularly shaped or disfigured cell formation.
These nutrients are usually found in soils in sufficient amounts, hence why they are routinely tested. The problem with both of them, is that in soils, they are typically dissolved in soil solution. Plants cannot absorb Mg or Ca into the roots when soils are dry.
Micronutrients
Nutrients that play essential roles in plants but are needed in tiny amounts are known as micronutrients. The most common being copper (Cu), iron (Fe), manganese (Mn), zinc (Zn), and boron (B). Micronutrients are usually present in sufficient quantities in soils, so they aren’t often tested.
That doesn’t mean you shouldn’t test for them. In some cases, crops have specific micronutrient requirements, causing growers to analyze them. An analysis is often done, too, when there is a toxicity concern.
Cation Exchange Capacity (CEC)
Understanding your soil’s CEC helps to gauge how well the nutrients in your fertilizer attach to the soil particles. A soil’s cation exchange capacity (CEC) estimates the total quantity of positively charged nutrient ions (cations) a soil can hold onto.
A soil with higher CEC is desirable because it will prevent nutrients from leaching out of the root zone.
Soil Salinity
In some areas, excess salts in the soil are a significant concern for growers. Soil salinity occurs when salt-laden irrigation waters are used, from seawater in low-lying areas along coasts, and when saltwater intrudes into freshwater aquifers.
These salts prevent plants from pulling water into their roots from the surrounding ground, causing water stress even if there is sufficient water in the root zone. Salts can also cause sodium toxicity in plants.
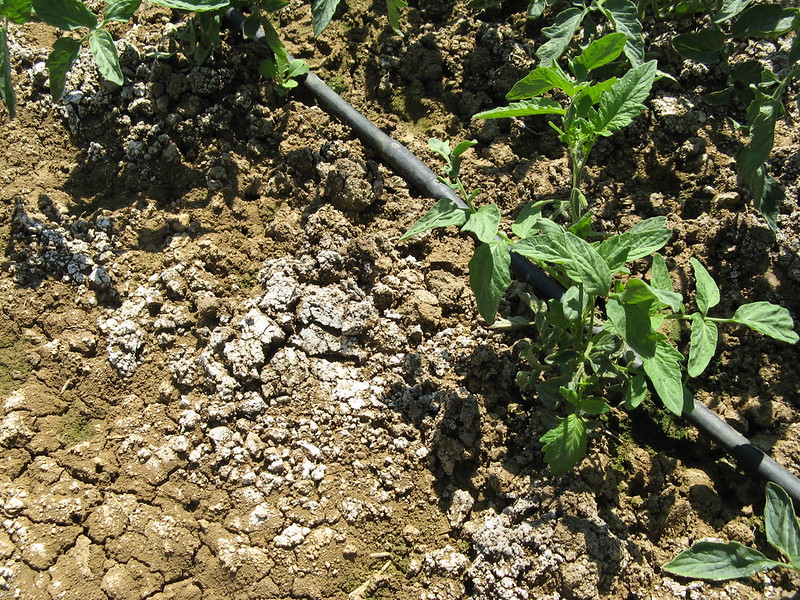 Photo Credit: Water Alternatives Photos on Flickr
It is helpful for farmers and homeowners in areas prone to salt-affected soils to test soil salinity so they can amend the soils by leaching the salts with fresh water.
Understanding Soil Test Results
When you receive your test results from the lab, they will indicate if your values are low, within an acceptable range, or too high. In the case of low values, the lab may also recommend how much fertilizer to apply for good plant growth.
It’s important to understand, though, that labs use different soil tests to analyze samples based on soil characteristics or preferences by lab personnel. Because of this, numerical values can differ between labs, and you may not be able to compare numbers directly from one lab to another. This doesn’t mean results are inaccurate; your numbers need to be interpreted differently.
Soil Analysis Made Easy with Deer Creek Seed
If you’re looking for a simple way to test your soil, let us help! Deer Creek's Soil Test Kits provide basic instructions for taking a good soil sample, which is then sent to Rock River Laboratory for reputable analysis.
Numerous fertilizer and lime recommendations for different food plot crop species will be provided to you within 10-15 business days, along with soil pH information.
Kit includes:
- Sampling Instructions
- Soil Sample Bag
- Grower Information Form
- Prepaid Mailing Label to Rock River Laboratory
We’re Here to Help
Soil testing is an integral part of your management strategy, but it isn’t something you need to handle alone. If you need any help or have questions, contact the experts at Deer Creek Seed for assistance!
Additional Resources
- Oklahoma State University Extension has more information on garden and lawn soil testing.
- Need extra help interpreting your soil test results? Head over to the University of Illinois Urbana - Champaign Extension.
- Get a better understanding of soil salinity by reading this webpage from Montana State University.
- Penn State University College of Agricultural Sciences lists standard soil testing methods commonly used by labs.
- Cornell University’s Cooperative Extension offers further information on phosphorus soil testing.
- Michigan State University offers an in-depth look at recommended soil testing methods for the North Central United States.